The following contribution is from another author.
Recycling materials for building projects not only helps the environment but also saves money. One of the most versatile and eco-friendly materials you can use is recycled pallets. This guide will walk you through how to use recycled pallets for insulating a shed. Whether you’re an experienced DIYer or a beginner, this project is achievable and rewarding.
Why Use Recycled Pallets?
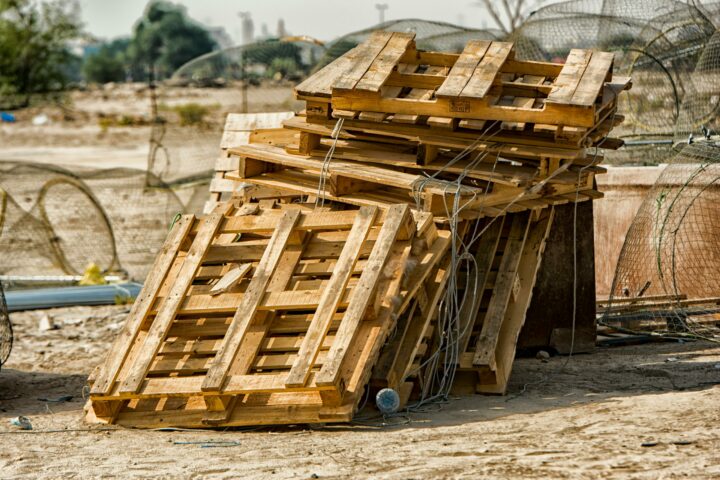
Recycled pallets are readily available, often free or very cheap, and they are sturdy enough for various construction purposes. Insulating your shed with pallets can help regulate the temperature inside, making it more comfortable to use year-round. Additionally, using recycled pallets reduces waste and promotes sustainability.
Materials Needed
- Recycled pallets
- Insulation material (e.g., foam board, fiberglass, or recycled materials)
- Saw or crowbar
- Hammer and nails or screws and a drill
- Measuring tape
- Safety gear (gloves, goggles)
Step-by-Step Guide
1. Collect and Prepare the Pallets
Start by sourcing recycled pallets. You can often find them at warehouses, supermarkets, or through online platforms. Ensure the pallets are clean and in good condition. Avoid pallets treated with harmful chemicals by looking for “HT” (heat-treated) stamps.
Disassemble the pallets using a saw or crowbar. This will provide you with individual planks and frames that can be used for insulation.
2. Measure and Cut the Pallets
Measure the interior walls of your shed to determine how many pallets you’ll need. Cut the pallet planks to fit the dimensions of the walls. Remember to account for any windows or doors that may require precise cuts.
3. Install the Pallet Frames
Attach the pallet frames to the shed walls using nails or screws. These frames will serve as the foundation for holding the insulation material in place. Ensure the frames are securely fastened and evenly spaced.
4. Insert the Insulation
Fill the spaces between the pallet frames with your chosen insulation material. Foam board and fiberglass are popular options, but you can also use recycled materials like old blankets or newspapers. Cut the insulation to fit snugly within the frames.
5. Cover the Insulation
Once the insulation is in place, cover it with the pallet planks you cut earlier. Nail or screw the planks onto the pallet frames, securing the insulation. This creates a solid and insulated wall for the garden room or shed.
6. Seal and Finish
To improve the insulation further, seal any gaps or cracks with caulk or weather stripping. This will prevent drafts and enhance the shed’s thermal efficiency. For a polished look, you can paint or stain the pallet walls.
Benefits of Using Recycled Pallets
- Cost-Effective: Using recycled pallets is much cheaper than buying new insulation materials.
- Eco-Friendly: Recycling pallets reduces waste and helps the environment.
- Durable: Pallets are sturdy and can withstand various weather conditions.
- Customizable: Pallets can be easily cut and modified to fit any space.
Tips for Success
- Safety First: Always wear safety gear when handling tools and pallets.
- Quality Check: Inspect pallets for damage or chemical treatments before use.
- Weatherproofing: Consider adding an extra layer of protection, like a vapor barrier, for better insulation.
Conclusion
Using recycled pallets to insulate your shed is an excellent way to save money, help the environment, and create a comfortable space. With a bit of effort and creativity, you can transform your shed into an insulated haven. Companies like Verde Trader offer a range of recycled materials, making it easier to find what you need for your next DIY project.
By following these steps, you’ll be able to insulate your shed efficiently and sustainably. Happy building!


Emoji Kitchen will automatically suggest possible combinations at the top of the keyboard.
Strands NYT – This mode adds a social aspect to the game, allowing for friendly competition and interaction with other word puzzle enthusiasts.
midly business complex
https://www.cairoaqar.com/property/midly-business-complex/