
The following contribution is from another author.
A roof replacement affects far more than curb appeal. The materials, ventilation, and installation details you choose can influence indoor comfort, energy use, and future maintenance for decades. Since the project also involves a significant investment, it helps to understand the decisions that come before the first old shingle is removed.
The best results start with a careful inspection and a clearly defined scope of work. From there, you can compare contractors, materials, and optional technology without losing sight of the roof’s main job: keeping the structure dry and protected. Considering these factors carefully will help you make an informed decision that balances immediate needs with the potential for a roof value increase and long-term savings.
Know When Replacement Makes Sense
Age offers a useful starting point, but it shouldn’t be the only factor behind your decision. Asphalt shingles commonly last 20 to 30 years, depending on the product, climate, ventilation and installation quality. A roof exposed to intense sun, frequent temperature swings or repeated storms may wear faster.
Look for widespread symptoms instead of focusing on one damaged shingle. Curled edges, bare patches where granules have worn away, and repeated leaks in different areas can point to broader deterioration. Dark marks in the attic, damp insulation or daylight visible through the roof boards also call for prompt attention.
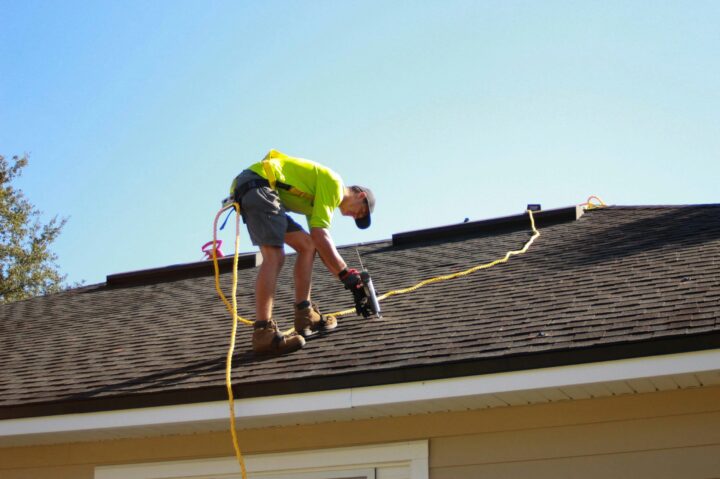
The roof replacement process usually involves removing old materials, inspecting the underlying deck, making repairs, and installing new protective layers. A full tear-off gives the crew a clear view of hidden decay that an additional layer of shingles could cover.
An inspection is especially useful when the roof is approaching the end of its expected life but still looks acceptable from the ground. Ask for photos of flashing, valleys, vents, and penetrations. These areas often develop trouble before the broad, open sections do. If damage is limited to a small area and the surrounding materials remain sound, a repair may still be reasonable. Repeated service calls across multiple sections usually make replacement the more practical long-term choice.
Build a Clear Scope Before Comparing Quotes
Request written estimates that describe the complete job. Each quote should identify the roofing material, underlayment, flashing, ventilation components, disposal costs, and any allowances for replacing damaged decking. It should also explain how the crew will protect siding, landscaping and driveways during the work.
This level of detail helps you compare like with like. A low initial price may exclude new flashing or assume that no deck repairs will be necessary. Another estimate might include upgraded underlayment, daily cleanup and a longer labor warranty. The final totals can’t be evaluated fairly until you understand those differences.
Local experience matters because installation details can change with regional weather patterns and building requirements. For example, Berks County homeowners considering a full tear-off can review the replacement service offered by Red Patch Roofing, which includes premium shingle installation, drone documentation and a 15-year labor warranty. Wherever you live, look for similarly specific information about the contractor’s service area, materials and responsibility for the finished work.
Use contractor hiring advice from a consumer protection source to guide your screening process. Confirm licensing and insurance where required, ask how change orders are approved, and get warranty terms in writing. You should also find out who will supervise the site and how you’ll receive progress updates once work begins.
Choose Materials for Your Home and Climate
Material selection should reflect the home’s structure, roof slope, local weather and your expected length of ownership. Architectural asphalt shingles remain common because they suit many home styles and offer several price and performance levels. Metal roofing can last longer and shed water efficiently, though its initial cost is usually higher. Tile and slate offer a distinctive look but may require structural evaluation because of their weight.
Color deserves practical thought as well. Dark surfaces tend to absorb more solar heat while lighter or specially coated surfaces can reflect more sunlight. The U.S. Department of Energy’s cool-roof guidance explains how roof reflectivity can affect heat transfer and cooling demand. The benefit varies by climate, insulation level and roof design, so a reflective surface won’t replace proper attic insulation or ventilation.
Ask contractors to bring full-size samples outdoors. Colors that look neutral under showroom lighting may appear much warmer, cooler or brighter in direct sun. Compare samples beside the siding, trim and masonry at several times of day.
Product warranties also need a close reading. Find out which defects the manufacturer covers, how coverage changes over time, and whether installation by an approved contractor is required. Then review the labor warranty separately. Material coverage may replace defective shingles while leaving removal and reinstallation costs to the homeowner.
Plan Ventilation and Smart Features Together
A new roof creates a good opportunity to correct airflow problems. Balanced attic ventilation typically uses intake vents near the eaves and exhaust vents higher on the roof. This setup helps release heat and moisture that could otherwise contribute to mold, damp insulation, or premature material wear.
More ventilation openings aren’t automatically better. Intake and exhaust need to work as a system, and blocked soffit vents can undermine the entire design. Ask the contractor to calculate the required vent area and confirm that insulation won’t obstruct airflow. Bathroom fans and dryer vents should discharge outdoors through dedicated ducts, never into the attic.
Technology can also support routine roof care. Moisture sensors placed near vulnerable attic areas may provide early warning of a leak. Connected weather stations can help you track severe conditions, while professionally installed solar equipment may reduce household electricity use. If these upgrades interest you, discuss attachment methods before the replacement starts so that brackets, wiring paths, and waterproofing details are coordinated.
Some emerging systems take this integration further. This overview of smart roofs for modern living explores how roofing can work with energy controls, sensors and other connected home features. Keep the plan practical, though. Every roof penetration needs correct flashing, and devices should remain accessible for service without damaging surrounding materials.
Prepare for Installation Day
Most residential replacements create noise, vibration, and temporary disruption. Remove fragile objects from wall shelves and attic areas before work starts. Vibrations from tear-off activity can shift unsecured decorations, especially on upper floors. Cover stored belongings in the attic because dust and small debris may fall through gaps in older decking.
Clear vehicles, patio furniture and portable equipment away from the work zone. Contractors need room for material delivery, debris containers and safe access around the house. Trim back branches that touch the roof when appropriate and mark delicate plants or irrigation components that may be difficult for the crew to see.
Ask about permits before the start date. Requirements differ by location, and the contract should state who obtains approvals and schedules inspections. General residential permit information can help you identify the questions to ask, but your municipal building department provides the rules that apply to your address.
Weather can shift the schedule, so discuss how the crew will protect an exposed roof if rain arrives. You should also know the cleanup procedure. Magnetic sweeps can collect stray fasteners from driveways and lawns, while a final walk-through gives you a chance to review flashing, vents, gutters and any repaired deck areas. Request final photos if parts of the roof aren’t visible from the ground.
Keep Records for Future Maintenance
Save the signed contract, invoices, warranty certificates, permit documents and before-and-after photos in one place. Digital copies are easier to share if you sell the home or need warranty service several years later. Record the exact product name and color too, since that information can help if a small repair becomes necessary.
Inspect the roof from the ground after major weather events and at least twice a year. Binoculars can help you spot lifted shingles, loose flashing, or debris collecting in valleys without climbing onto the surface. Keep gutters clear so water can drain away from the roof edge, and arrange professional inspections if you notice interior stains or sudden changes outside.
Pay attention to nearby trees as they grow. Branches rubbing against the surface can damage shingles, while heavy leaf buildup may hold moisture. Any trimming near overhead lines or difficult roof sections should be handled by an appropriately qualified professional.
Before signing off on the project, compare the completed work with the written scope and collect every warranty document. That final packet turns a major home improvement into a well-documented part of the house, complete with the details you’ll need for maintenance, future repairs, and an eventual sale.